In ChromeOS Flex, the Terminal is the entry point to Linux. In terminal settings, there are plenty of built-in fonts, however, there isn’t a simple way to install nerd font or any other font, and the terminal can’t pick up the fonts installed in the Linux either.
Here is a workaround to install a nerd font for the Terminal.
Nerd fonts
First, go to Nerd Fonts and find the font. Then copy the url to the font file (*.tff).
Load a nerd font in Terminal
Open the Terminal, press Ctrl+Shift+J inside Terminal and paste:
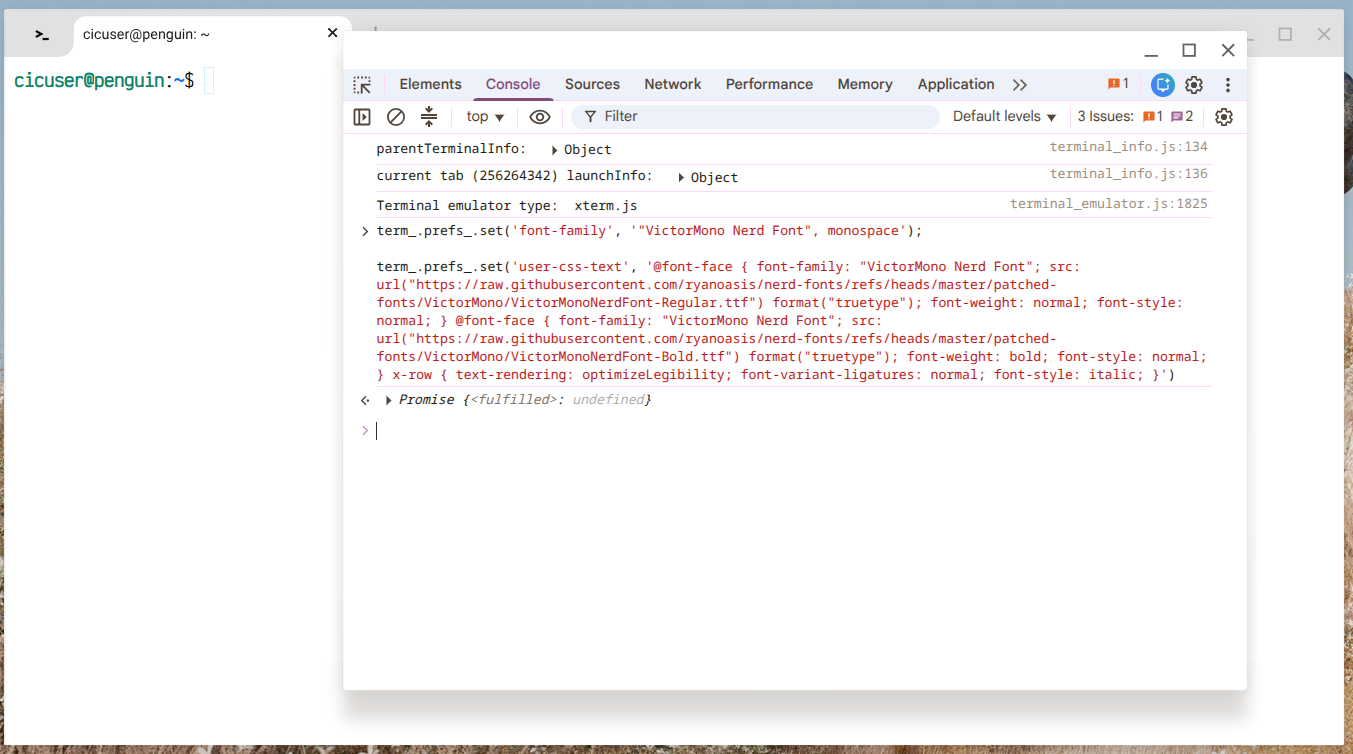
term_.prefs_.set('font-family', '"VictorMono Nerd Font", monospace');

term_.prefs_.set('user-css-text', '@font-face { font-family: "VictorMono Nerd Font"; src: url("https://raw.githubusercontent.com/ryanoasis/nerd-fonts/refs/heads/master/patched-fonts/VictorMono/VictorMonoNerdFont-Regular.ttf") format("truetype"); font-weight: normal; font-style: normal; } @font-face { font-family: "VictorMono Nerd Font"; src: url("https://raw.githubusercontent.com/ryanoasis/nerd-fonts/refs/heads/master/patched-fonts/VictorMono/VictorMonoNerdFont-Bold.ttf") format("truetype"); font-weight: bold; font-style: normal; } x-row { text-rendering: optimizeLegibility; font-variant-ligatures: normal; font-style: italic; }')
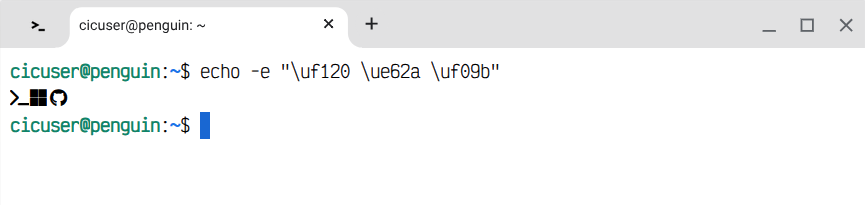
The terminal font shall be immediately updated, a simple test shows the nerd font installed correctly.
Another way
Just install a terminal application and use the nerd font in Linux, this is probably the easiest way! The screenshot shows Tilix terminal with JetbrainMono nerd font.